Labelling tool helps the user to have the ability to label the evaluation so that later it will be easy to find evaluations for various use cases such as training, reference for calibration, coaching, and any other case suite to the client. It is helpful in order to share the evaluation to other users.
All users can access the label management module and can create & update labels as per their individual need.
In order to create the label, add the evaluations in it and tagged the user, click on “Evaluation/ATA” under “Quality” tab as highlighted in below screenshot:-
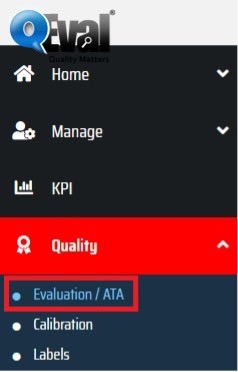
Quality: Evaluation / ATA
It will open “Manage Evaluation” page and over there, you can see “Labels” section is available as highlighted in below screenshot. Here, no evaluations has been labelled and so it is showing “(0)”.
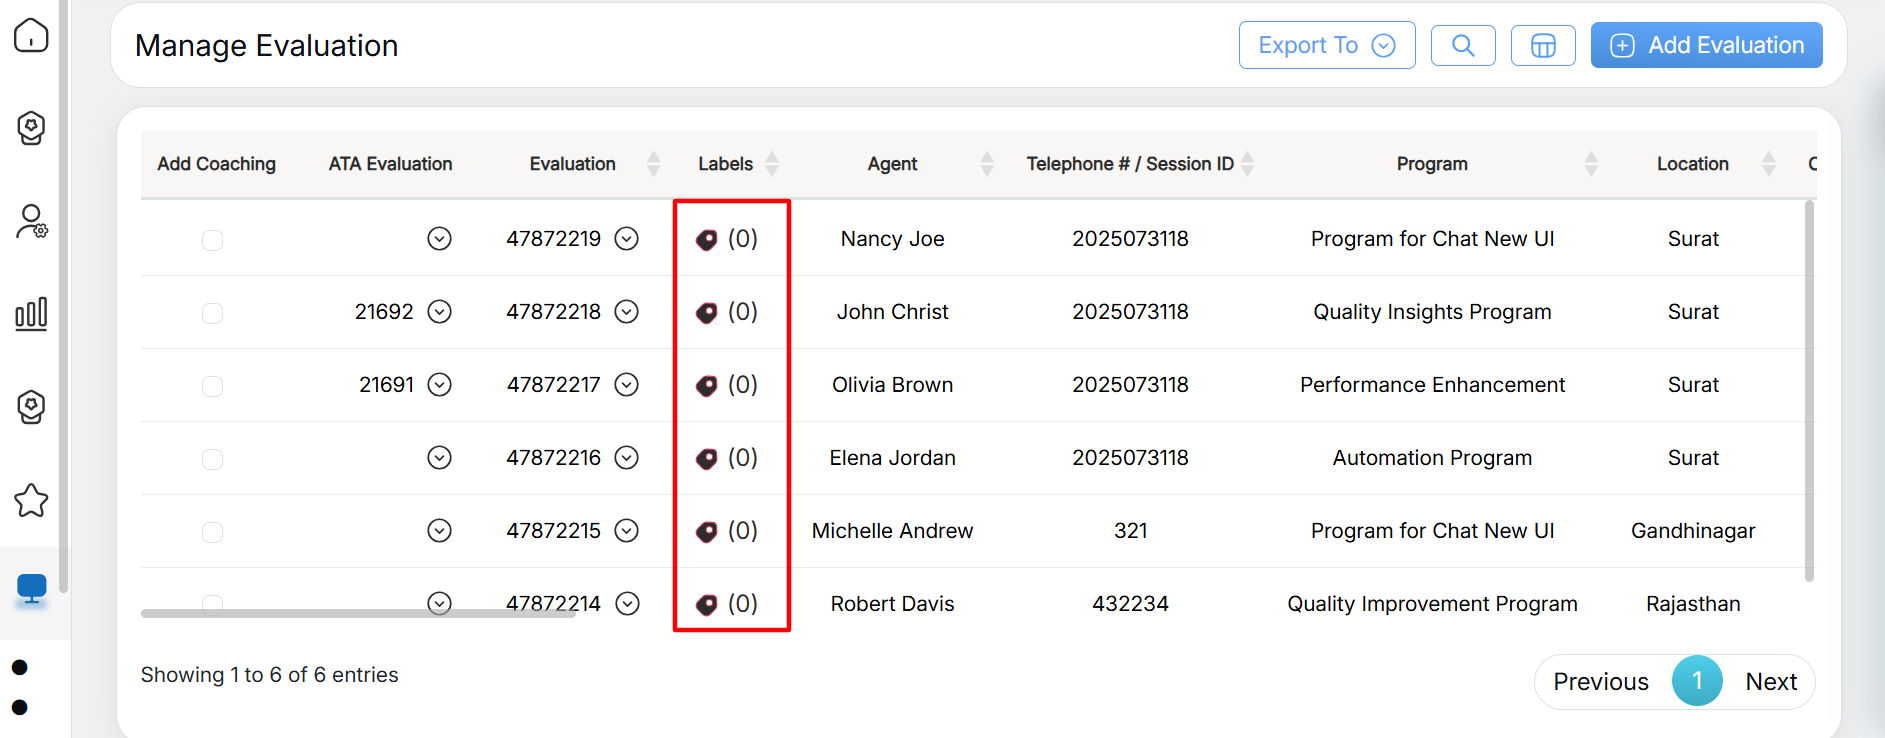
Manage Evaluations: Label
In order to label the evaluation, open any evaluation which is evaluated by clicking on “View” option as highlighted in below screenshot:-
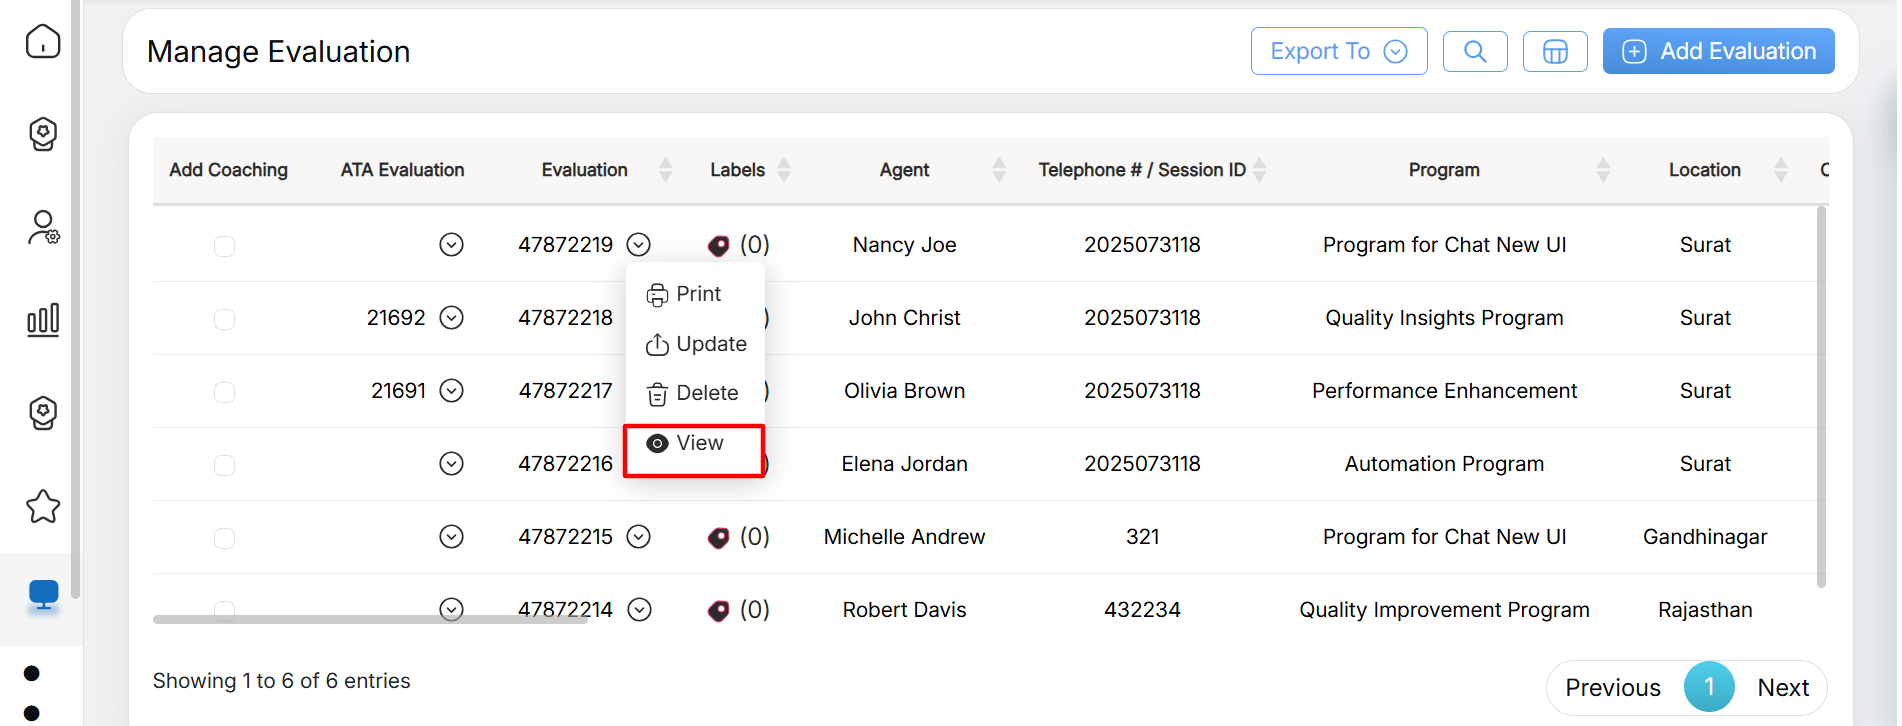
View option
Once you click on “View”, it will open the evaluation and you will find “Add Labels” button as highlighted in below screenshot:-
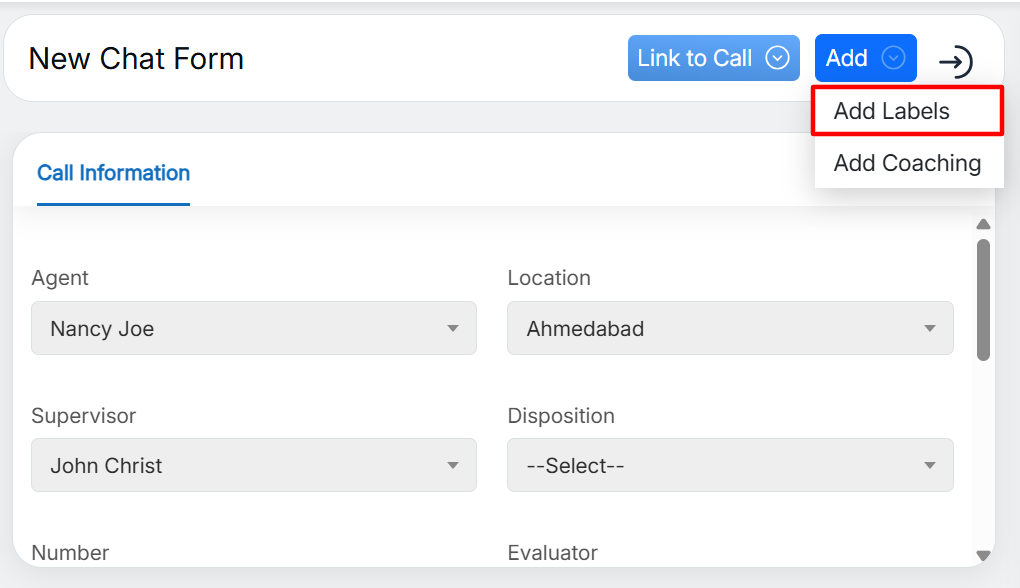
Add Labels Option
Once you click on “Add Labels”, it will open a small window on the right side panel as highlighted in below screenshot:-
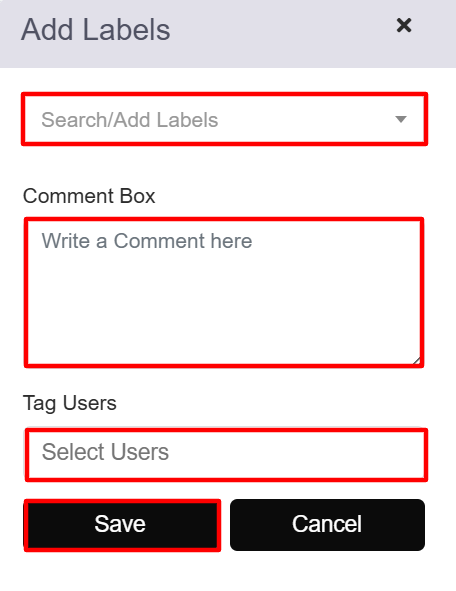
Add Label Details
In this, you can see there is “Search/Add Labels” dropdown. It helps to search the labels which are already created and in that, you also add the labels by typing it and then press the “Enter” button. Label name should not be more than 150 characters.
You can also delete the label selection by clicking on “x” button and in the “Tag Users”, you can select/tag the users for which we need to share the evaluations. You can also delete the user which is added under “Tag Users” by clicking on “x” button.
In the comment box, you can mention any comments related to this label. It should not be more than 150 characters. Once all the details have been added, you can click on “Save” button or “Cancel” to discard.
Once you click on “Save” button, it will show confirmation message as mentioned in below screenshot:-

Evaluation Label Added
In order to open the “Labels” which you have created, go to menu section on the left side panel, under “Quality”, there is an option of “Labels” as highlighted in below screenshot:-
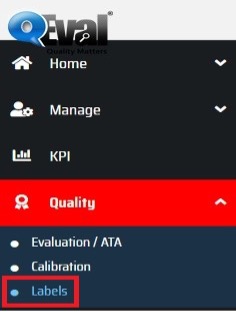
Labels
Once you click on “Labels”, it will open “Manage Label” page as mentioned in below screenshot:-
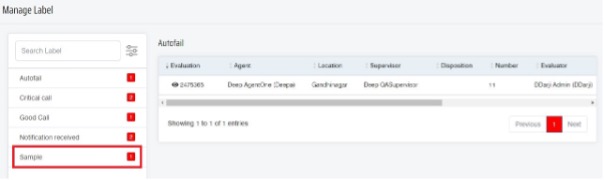
Manage Labels
In this, you can see label “Autofail” have been created and under that label, there is “1” number mentioned beside it. Once you click on label, it opens that one evaluation which has been added under that label in the gridview with all the details of the evaluation as shown in above screenshot.
We have an option to search the label by filter as highlighted in below screenshot:-
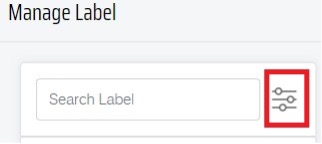
Search Label: Filters
You can search the label in “Search Label” box and once you click on “Filter” icon, it will open pop-up window as mentioned in below screenshot:-
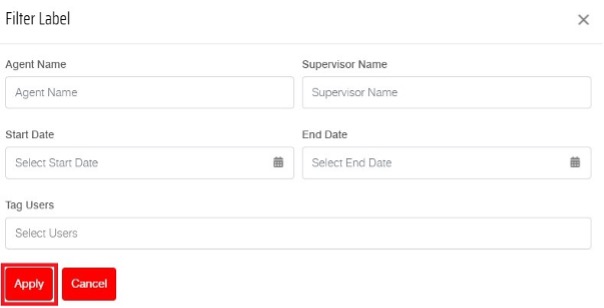
Filter Label
You can filter the label by agent name, supervisor name, start date, end date & tag users. Once any detail has been filled, you can click on “Apply” button or “Cancel” button to discard.
In the same way, you can add multiple labels and share the evaluations to different users.
Tagged User Login:-
In order to see evaluation which is tagged for particular user, that user have an option of “Labels” under “My Universe” tab as highlighted in below screenshot:-

My Universe: Labels
Once the user click on it, the user can see “Autofail” label under “Manage Label” page which is tagged to that user and the evaluation for which it has been added as highlighted in below screenshot:-

Manage Label
In the same way, if we need to share the evaluation to other users, we can use Label module.
The highlighted label count on the following screen represents the total number of times a specific label has been shared with users for effectively tracks and displays the sharing activity for better monitoring and collaboration.
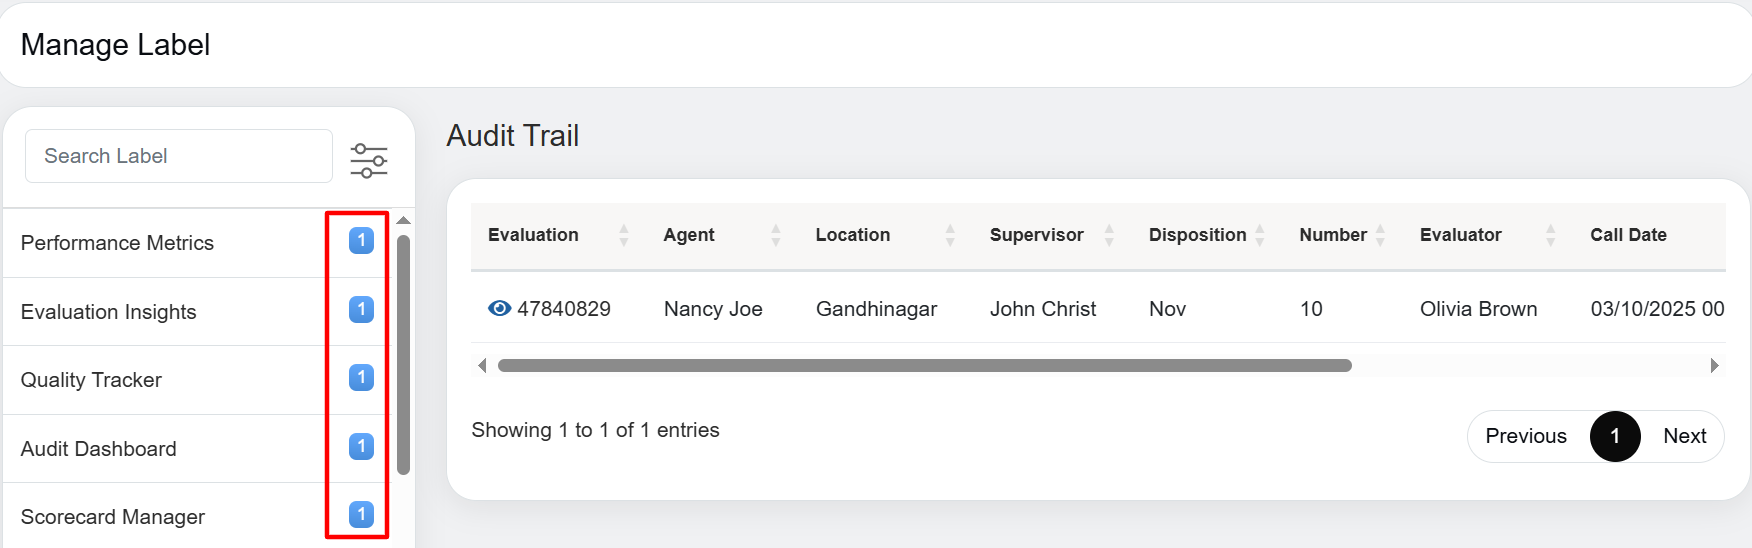
Label Count
The highlight with “Red Mark” feature, shown alongside the total sharing count of a specific label, prioritizes pending reviews by visually marking them and notifying users. This ensures that recently added labels are clearly identified, as shown in the screen below-
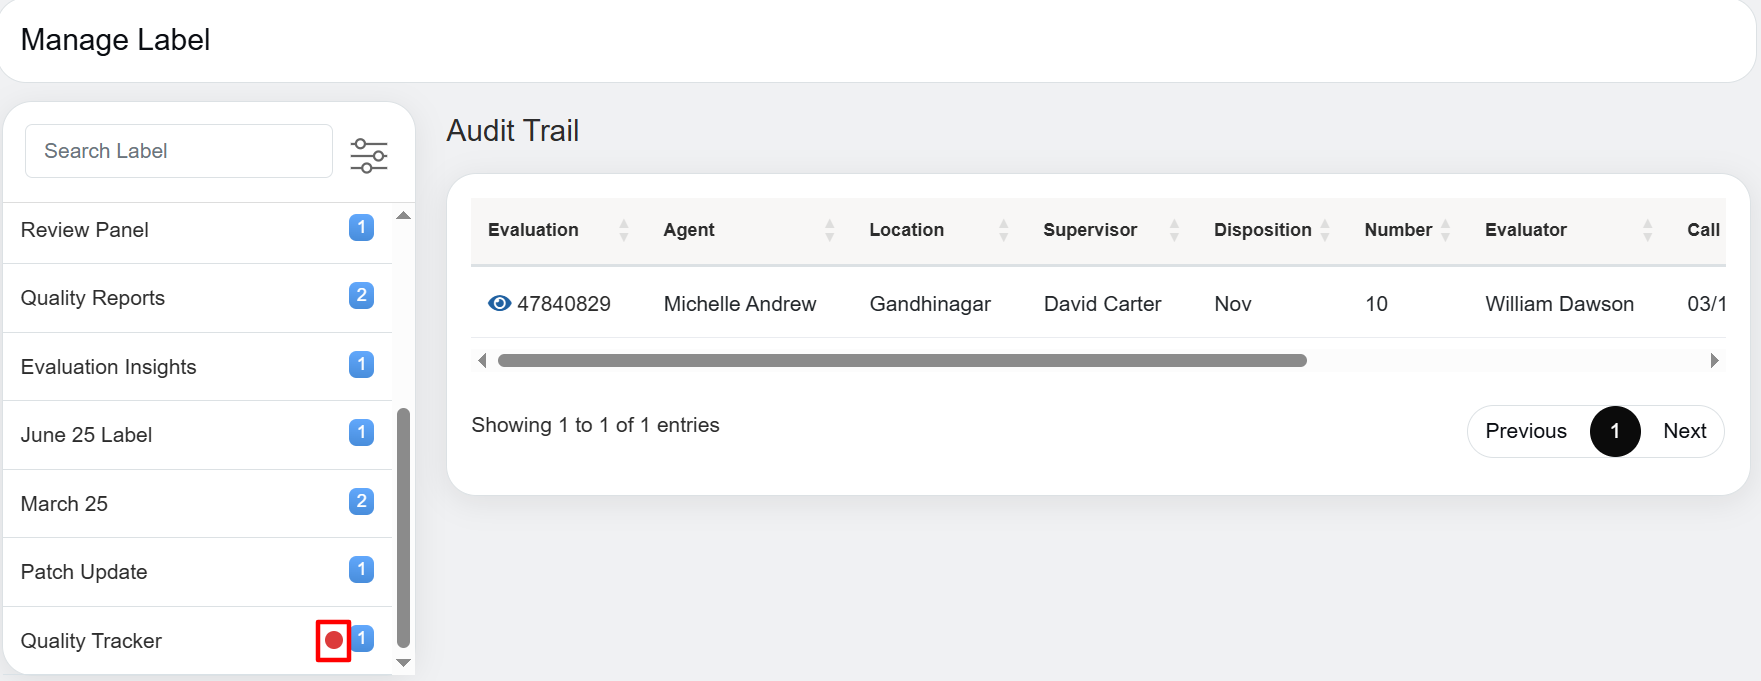
High Priority Label with Red Mark
Video